Replacing plastic pads.
Large plastic recorders with plastic pads (notably, those by Yamaha) have now been around for long enough for ageing problems to arise. There is a tendency for the plastic foam used for the pads to lose is original properties, get hard and brittle, and break up.
Woodwind repair materials can be obtained from Dawkes Music & Windcraft Ltd who may be able to supply spare Yamaha pads. (Link)
If you cannot get any of the real thing you can make your own.
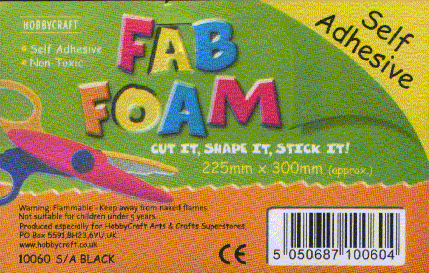
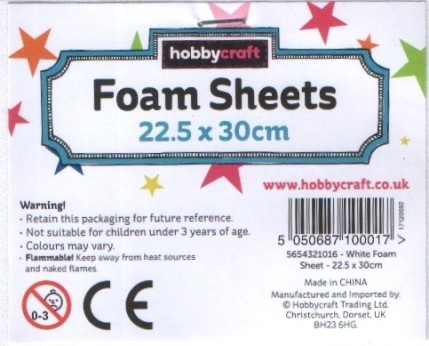
A visit to a Hobbycraft store ( www.hobbycraft.co.uk ) will provide you with a sheet of 'Fab Foam', now sold as 'Sheet Foam'. A sheet approximately A4 in size costs about £1.00 if it has a self adhesive backing, (and half that without it). This material, which is ideal for the purpose, comes in black, white, and other colours, even pink. I use the black version.

This product has been re-branded.

To remove the pad cup and lever from the recorder you must first remove the axle screw holding the key cup lever. Use the biggest straight screwdriver which you can make fit. The screw may be tight and it has to come out. If the slot is spoiled by the wrong size tool the battle is lost. The axle must be turned, but it may not unscrew. If it does not unscrew itself out help it by pressure on the far end with a smaller screwdriver. Careful use of the pliers may be necessary, do not damage the body of the axle. Put the axle somewhere safe. Back in the hole is a good place.
The original pad has a self adhesive backing and it may be gently peeled away from the cup.
Your new pad must be the same size and you can use the pad cup, by pressing it onto the surface, to make an identation that you can cut round with a small pair of scissors. If you have a set of cork borers or wad cutters handy you can punch foam discs from the sheet with ease. It is best to work with adhesive backed foam, either the proprietory version, or the plain one with your own backing of double sided sticky tape.
Where the new pad has to be a annulus (flat donut), the centre hole can be cut with a leather punch.
Peel off the backing paper and press the new pad into position. It must sit into the hole perfectly flat and be a tidy fit.
Re-fit the key and check that, when the key is operated, the pad touches the rim of the hole it covers all the way round at exactly the same time. If it touches first at the far end (toe) the pad needs to be adjusted by packing it from behind with a layer or two of paper and double sided sticky tape. Yamaha pads are 3mm thick. This Foam it is 2mm thick so it is unlikely to touch at the heel. If it does, the pad with its packing is too thick.
The integrity of the seal can be tested by blowing and sucking on a foot joint with the bell end closed by ball of your thumb. For a body joint the method involves rolling up a trouser leg and stopping the end by holding it on your leg, just above the knee.
For the record, I do not recommend foam pads as a replacement for standard pads on a wooden recorder though they may well be suitable in an emergency. It is their thickness that is the primary problem. If you have one of the early Moeck instruments with pads made of cork topped by aged white foam, this 'Sheet Foam' may well be useful for rejuvenating it, but I prefer to replace both the foam and cork with a standard traditional pad.